Nail Pops and Dents: Fixing Plaster Before Your Walls Are Painted
A fresh coat of paint can transform a room, but it can also highlight every flaw in the wall underneath. Nail pops, dents, dings and hairline cracks are among the most common surface defects in Melbourne homes, and they become far more obvious once new paint goes on, especially with the soft, low-sheen finishes that are popular in 2026. Proper surface preparation is what separates a flawless result from one that looks tired within months.
This guide explains what causes nail pops and dents, how to repair them correctly, and when it makes sense to call in professional painters. Whether you are planning a DIY refresh or hiring a painting contractor for a full interior painting project, understanding the repair process helps you make better decisions and get a longer-lasting finish.
What Are Nail Pops and Why Do They Happen?
A nail pop occurs when a nail or screw holding a sheet of plasterboard to the framing works its way outward, pushing a small circular bump through the paint and plaster compound. Sometimes the bump cracks open and the nail head becomes visible. Left alone, the defect will simply reappear after painting.
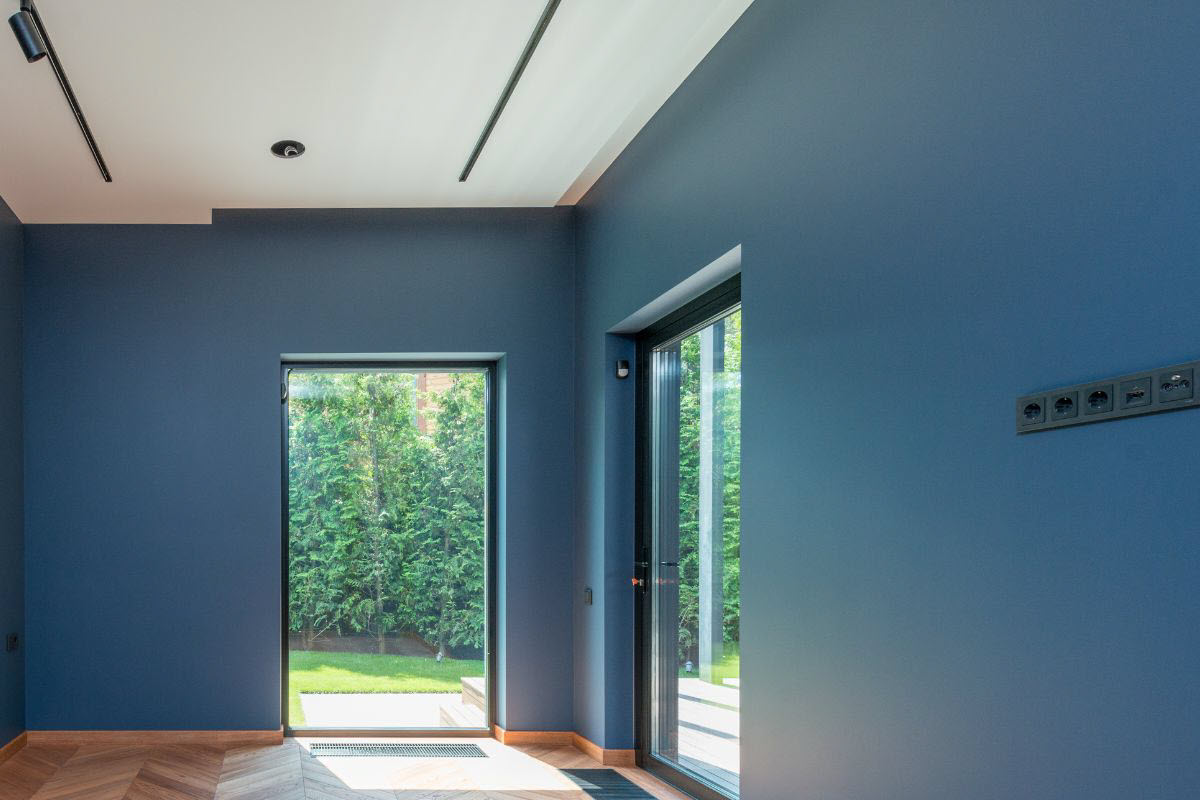
Melbourne's climate plays a significant role. The city is known for dramatic temperature swings and variable humidity, sometimes in a single day. Timber wall and ceiling framing expands and contracts as it absorbs and releases moisture. Over time, this movement can push fasteners outward or loosen the plasterboard's grip on them.
Common Causes of Nail Pops
- Timber shrinkage: Framing that was not fully dried when the house was built shrinks over the years, leaving fasteners loose.
- Seasonal movement: Melbourne's hot summers and cool, damp winters cause repeated expansion and contraction.
- Poor original installation: Nails driven too shallow, too deep, or missing the framing entirely will not hold the board firmly.
- Settling and reactive clay soil: Many Melbourne suburbs sit on reactive clay, which shifts with moisture changes and can move the whole structure slightly.
- Loose plasterboard: Sheets that were not pressed tightly against the framing during installation can flex and push fasteners out.
Understanding Dents, Dings and Other Wall Damage
Dents and dings are usually caused by everyday life: furniture bumping into walls, door handles hitting the plaster, picture hooks being removed, or items being dragged along a hallway. Older homes, particularly Victorian and Edwardian properties with lath and plaster walls, may also have larger depressions, cracks and patches from previous repairs.
Knowing the type of damage you are dealing with determines the repair method. Small dents need only a light fill, while deep gouges and holes require a different approach. Cracks that keep returning may indicate structural movement and should be assessed before painting.
Tools and Materials You Need
Having the right equipment makes repairs faster and results neater. A basic kit for patching plaster before interior painting includes:
- Plasterboard screws (not nails) in the correct length
- A cordless drill or screwdriver
- A putty knife and a wide taping knife (150 mm or larger)
- Pre-mixed lightweight filler or setting-type compound
- Fine sanding sponges or sanding pole with 180 to 240 grit paper
- A sharp utility knife
- Stain-blocking primer or sealer
- Drop sheets, a dust mask and safety glasses
How to Fix a Nail Pop Properly
The most common mistake is simply hammering the nail back in and covering it with filler. This rarely lasts because the underlying looseness remains. A durable repair addresses the fixing itself.
- Inspect the area. Press on the wall around the pop to check for looseness. Identify the framing location, usually 450 to 600 mm apart.
- Remove loose material. Scrape away any flaking paint and cracked compound around the nail head with a putty knife.
- Re-secure the board. Drive a plasterboard screw about 40 mm above and below the popped nail, into the framing. Sink each screw just below the surface without tearing the paper facing.
- Deal with the old nail. Either remove it or drive it slightly below the surface so it no longer protrudes.
- Apply filler. Cover the screw heads and old nail with a thin layer of compound, feathering the edges outward.
- Apply second and third coats. Allow each coat to dry fully, then apply another slightly wider coat. Several thin layers beat one thick one.
- Sand and prime. Sand smooth once dry, wipe away dust, and spot-prime the repair so it does not show through the paint as a dull patch.
Repairing Dents and Dings
Shallow Dents
For minor dents, brush away any loose debris and apply a thin layer of lightweight filler with a putty knife, pressing it firmly into the depression. Scrape the surface flat, let it dry, then sand lightly. Most shallow dents need two applications because filler shrinks slightly as it dries.
Deeper Gouges and Small Holes
Deeper damage should be filled in stages. Use a setting-type compound for the first layer because it hardens chemically, shrinks less and sets quickly. Follow with a lighter finishing compound that sands easily. For holes larger than a 20-cent coin, a self-adhesive mesh patch provides support before filling.
Raised Edges Around Dents
Impact damage sometimes pushes the paper surface into a rough, raised ring around the dent. Lightly sand or trim this edge with a utility knife before filling so the https://melbpaint41886485.evercolumn.com/posts/how-to-choose-paint-colours-for-melbourne-s-exterior-surfaces repair sits flush rather than forming a visible ridge.

Sanding and Priming: The Steps Often Skipped
Filler is more absorbent than the surrounding painted wall. If it is not sealed, the repaired spots absorb paint differently and produce a patchy effect known as flashing. Spot-priming each repair with a quality sealer evens out absorption and helps the topcoat look uniform.
To check your work, hold a torch or phone light at a low angle across the wall. Raking light reveals ridges, hollows and rough patches that are invisible in normal lighting. Fixing them now is far easier than after the first coat of paint has gone on.

Why Preparation Matters More With Modern Paint Finishes
Matt and low-sheen paints are widely chosen for Melbourne homes in 2026, but the flatter the finish, the more forgiving it is, in theory. In practice, strong natural light from large windows and open-plan layouts can still reveal imperfections. Glossier finishes on trims and doors show every flaw even more.
Preparation typically represents the largest part of a professional painting service. It is common for a skilled painting contractor to spend more time repairing, sanding and priming than applying paint. Cutting corners at this stage is the main reason finished walls look disappointing.
Special Considerations for Older Melbourne Homes
Melbourne has a large stock of period homes, including Victorian terraces, Federation houses and mid-century builds. These properties often come with extra challenges:
- Lath and plaster walls: Cracks and loose sections may need to be re-secured with plaster washers before filling.
- Lead paint: Houses built before the 1970s may contain lead-based paint. Dry sanding can release hazardous dust, so testing and safe handling practices are essential. Professionals follow current Victorian safety guidelines.
- Asbestos-containing materials: Some older wall sheeting, textured coatings and eaves linings may contain asbestos. Do not sand, drill or disturb suspect materials. Have them tested first.
- Previous patch repairs: Uneven past repairs may need to be cut back and redone for a flat finish.
When to Call Professional Painters
Small repairs are well within reach of most DIYers, but some situations call for professional help:
- Widespread nail pops across multiple rooms, which can signal broader movement or poor original fixing
- Recurring cracks, particularly diagonal cracks near doors and windows
- Water-stained or bubbling plaster, which points to a leak that must be fixed first
- Large areas of damage requiring sheet replacement or skim coating
- Older homes with possible lead paint or asbestos
- High ceilings and stairwells that need scaffolding or specialised access
Experienced house painting teams can assess the cause of recurring defects, carry out the repairs, and coordinate the work with the painting schedule. If you are also considering exterior painting, it makes sense to combine projects, because exterior moisture problems such as failed render, blocked gutters or poor sealing around windows can contribute to interior plaster issues.
Preventing Nail Pops and Dents in the Future
- Control indoor humidity: Use exhaust fans in bathrooms and kitchens and ventilate the home regularly.
- Maintain external drainage: Keep gutters, downpipes and stormwater drains clear so soil moisture stays consistent around the foundations.
- Use screws for repairs: Screws hold plasterboard much more securely than nails.
- Protect high-traffic areas: Corner guards, door stops and furniture pads reduce impact damage.
- Use quality paint: Durable, scrubbable formulations resist marking and are easier to touch up.
Questions to Ask When Hiring a Painting Contractor
If you decide to hire help, ask potential painters how they handle surface preparation. A reputable painting service will explain which repairs are included, what products they use for filling and priming, and how they treat recurring defects. Ask whether the quote covers nail pop repairs and minor patching, or whether these are charged separately. Check that the business holds the appropriate licences and insurance, and request references or examples of previous interior painting work in Melbourne homes.
Final Thoughts
Nail pops and dents are minor problems when addressed at the right time, but ignoring them before painting guarantees a disappointing result. Re-securing the plasterboard, filling in thin layers, sanding carefully and priming each patch are the steps that deliver a smooth, lasting finish. For larger or recurring problems, or for older homes with additional safety considerations, engaging experienced Melbourne painters ensures that the preparation is done correctly and the paint job looks as good in several years as it does the day it is finished.
Melbourne House Painting Pros
2/147 Swan St, Richmond VIC 3121
(03) 4051 5313